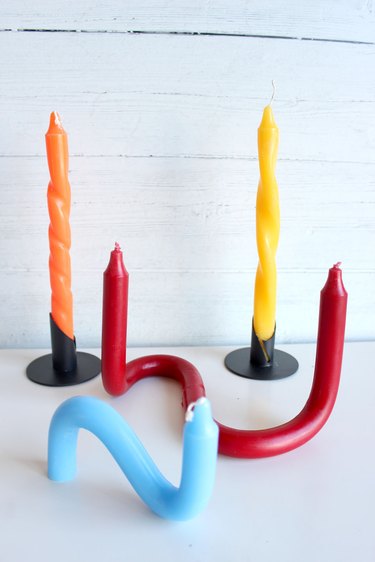
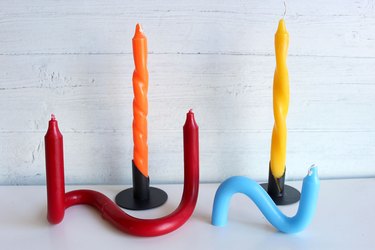
One of the coolest projects popping up on Pinterest and TikTok is candles that are twisted in creative ways. How are they made? Is it really as easy as it looks? How do the candles not crack while you're bending them? To answer these questions, I've taken a deep dive into the world of twisty candles so you too can replicate these wax wonders. They'll definitely light the flame of creativity within.
Things You’ll Need
-
Straight taper candles
-
Tall vase or tub for water
-
Narrow jar
-
Hot water
-
Cold water
-
Hot glue

Step 1: Select the Right Candles
For this project, you'll need straight taper candles. These are taper candles in which the diameter is the same throughout the length of the candle. Avoid taper candles with a narrower tip. You might not have as much success twisting them, as the narrow part may snap. Straight taper candles are typically 10 or 12 inches long.

Step 2: Fill a Vase With Hot Water
Fill a vase with hot tap water, making sure the water level is high enough for the length of the candles. A plastic tub or a long baking dish can also work. Don't use boiling water – that's too hot.

Step 3: Immerse the Candles
Place the candles in the container of hot water for 15 to 20 minutes. You'll know they're ready when they can bend with very little effort.

Doing the Twisty Spiral
Step 1: Flatten the Candle
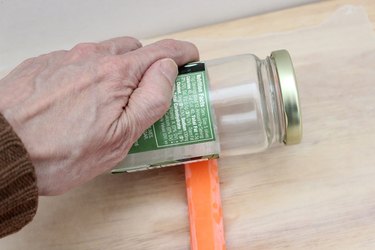
Lay the candle on a flat surface. Using a narrow jar as a rolling pin, flatten the candle but leave the top and bottom inch as is. Turn the candle over and flatten the other side.
Step 2: Twist the Candle
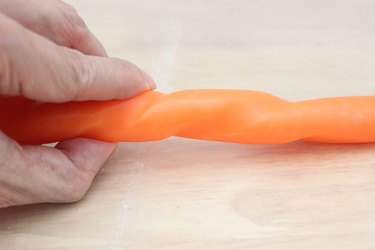
Slowly twist the candle using both hands. You can vary the amount of twisting to create different spiral shapes.
Step 3: Set the Spiral
When you're happy with the spiral, making sure that it's perfectly straight up and down, place it under cold running water to "freeze" the spiral in place.

The Self-Standing Snake
Step 1: Bend Into an "S" Shape
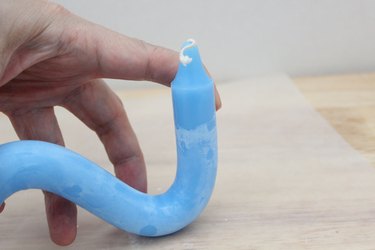
Remove the candle from the hot water and bend it in two places to create an "S" shape (or a "Z" shape depending on how you're looking at it). The candle bends so easily that you will feel like Superman twisting a steel bar.

Step 2: Stabilize the Candle
Hold the candle on a tabletop and continue bending it until the bottom base is flat against the table and the tip points straight up. Let go to make sure the candle stands on its own.
Tip
A film can develop when the candle sits in the hot water. If your candle has a film, just rub it off with your fingers or a paper towel.
Step 3: Set the Shape
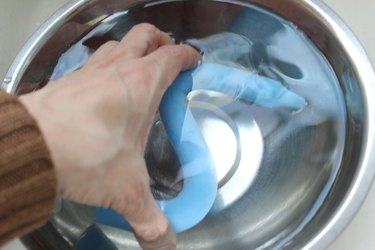
Run the candle under cold water or place it in a bowl of cold water to set the shape.
The Connected Twists
Step 1: Bend the Candle
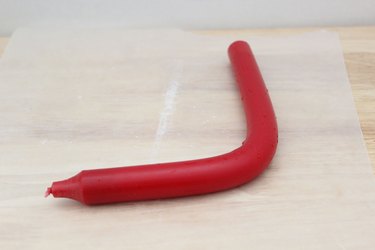
About midway on the candle, bend it at a 90-degree angle.
Step 2: Make a Hook
With the top of the candle pointing upward, twist the lower part of the candle around a narrow jar to create a hook.
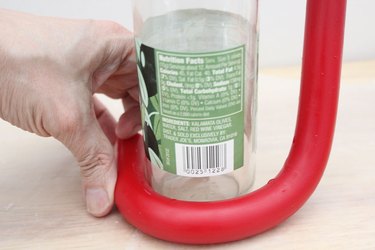
Repeat with a second candle so you have two candles with hooks going in the same direction. Place them in cold water to set the shapes.

Step 3: Connect the Candles
Place a dab of hot glue on the base of one of the candles. Press the base of the other candle against the hot glue and hold it in place until the glue sets in about a minute.
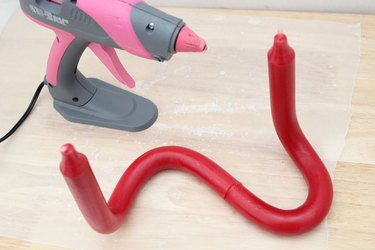
These twist candles make beautiful modern sculptures. However, their shapes are not ideal for burning, as wax will drip everywhere, so I recommend not lighting them and using the candles strictly for decorative purposes.
