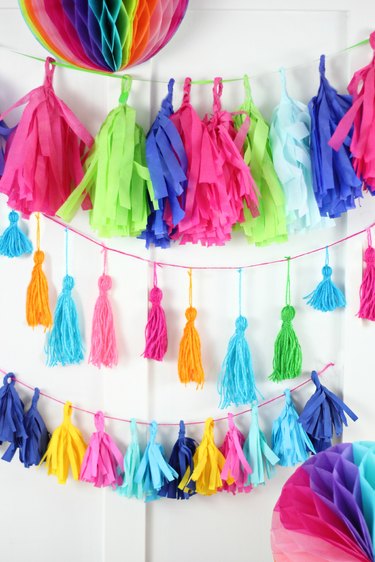
 Three types of tassel garlands. Image Credit: Lucy Akins
Tassels are not just functional in decor and fashion, but they also serve as a fun and colorful decorative item. Use inexpensive items, such as tissue paper, paper napkins and embroidery thread, to make your tassels and string them together to create festive garland.
Tissue Paper Tassel Garland
Things You'll Need: Tissue paper in a variety of colors Scissors Clear tape Ribbon, same color as tissue paper Ribbon or nylon cord (for hanging) Hot glue gun and hot glue (optional)
Step 1
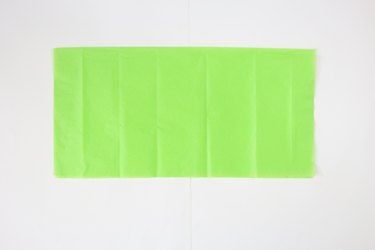 Tissue paper folded in half. Image Credit: Lucy Akins
Fold a piece of 20-by-20-inch tissue paper in half.
Step 2
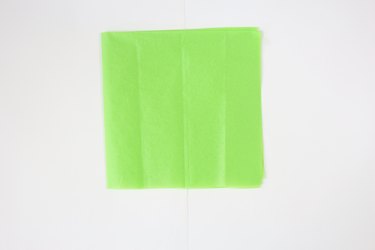 Folded in half the second time. Image Credit: Lucy Akins
Fold the tissue paper in half once again.
Step 3
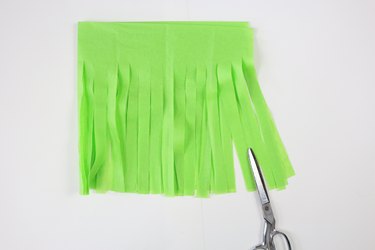 Make a fringe with scissors. Image Credit: Lucy Akins
Cut vertical slits to make fringe, as deep as you want, but leave at least 1/2 inch of paper un-fringed at the top to help the garland stay together.
Step 4
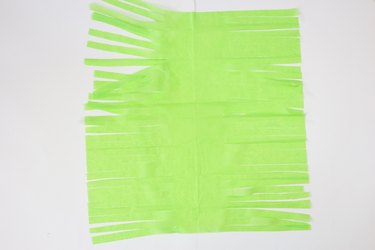 The tissue paper unfolded. Image Credit: Lucy Akins
Unfold the fringed paper.
Step 5
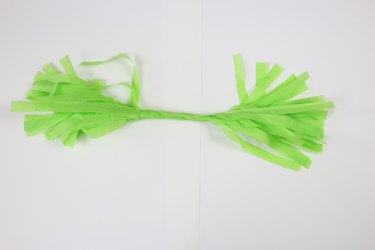 Roll it to the end. Image Credit: Lucy Akins
Tightly roll the tissue paper down the middle crease. Continue rolling the paper all the way to the end to form the shape as shown.
Step 6
 The paper twisted in the middle. Image Credit: Lucy Akins
Twist the paper tightly in the middle.
Step 7
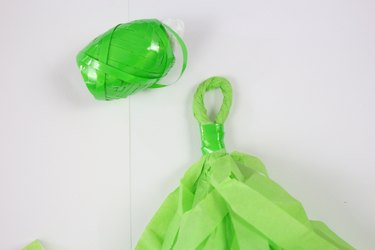 Ribbon wrapped around the loop. Image Credit: Lucy Akins
Fold the paper in half to create a tassel shape. Form a loop in the middle of the tassel and secure it with tape or hot glue. Wrap matching ribbon around the base of the loop if desired and secure it with tape.
Step 8
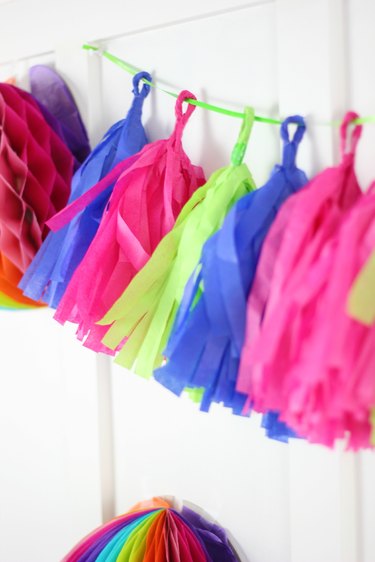 Tissue paper tassel garland. Image Credit: Lucy Akins
Repeat the steps to make as many tassels as you wish. String ribbon or nylon cord through the tassel loops and hang them.
Paper Napkin Tassel Garland
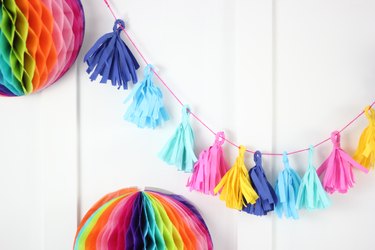 Paper napkin garland. Image Credit: Lucy Akins
Things You'll Need: Paper napkins in varying colors Scissors Clear tape Ribbon or nylon cord (for hanging) * Hot glue gun and hot glue
Step 1
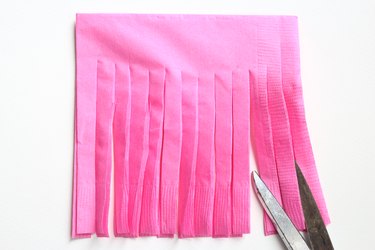 Making the fringe. Image Credit: Lucy Akins
Cut vertical slits to make a fringe in the napkin, leaving about 1/2 inch of napkin un-fringed at the top.
Step 2
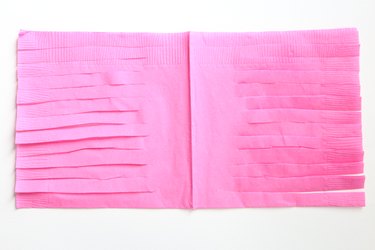 The napkin unfolded. Image Credit: Lucy Akins
Unfold the napkin.
Step 3
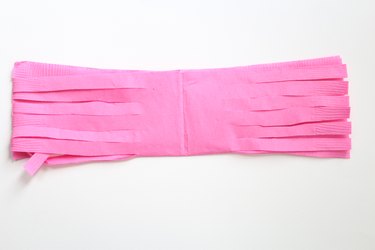 Fold the napkin in half. Image Credit: Lucy Akins
Fold the napkin in half lengthwise.
Step 4
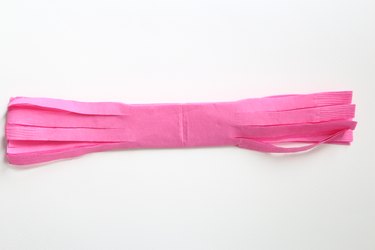 Folded in half again. Image Credit: Lucy Akins
Fold the napkin in half lengthwise again.
Step 5
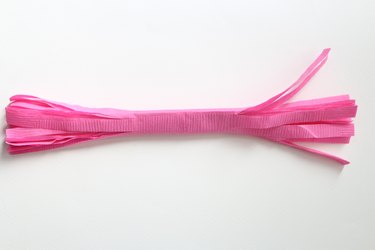 The napkin folded all the way to the end. Image Credit: Lucy Akins
Continue folding the napkin until it is one long shape as shown.
Step 6
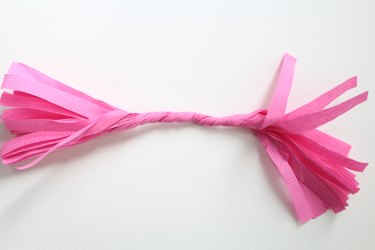 Twisted through the middle. Image Credit: Lucy Akins
Twist tightly through the middle of the napkin.
Step 7
 Form a loop. Image Credit: Lucy Akins
Fold the napkin tassel in half to form a loop and secure the loop with hot glue.
Step 8
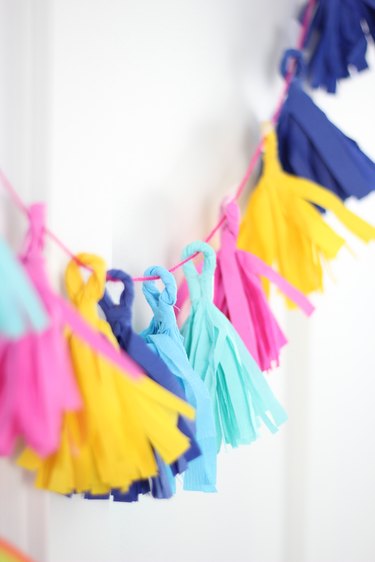 Hang the garland. Image Credit: Lucy Akins
String the tassel through a piece of ribbon or nylon cord and attach as many tassels as you would like to make a garland.
Embroidery Thread Tassel Garland
Things You'll Need: Embroidery thread in various colors 5-by-3-inch piece of cardboard or thick card stock * Ribbon or nylon cord (for hanging)
Step 1
 Wrap thread around the cardboard. Image Credit: Lucy Akins
Wrap embroidery thread longwise around the piece of cardboard approximately 10 to 12 times.
Step 2
 Cut the bottom or top of the loop. Image Credit: Lucy Akins
Cut the bottom or the top of the loop.
Step 3
 Tied knot in the the middle of the strands. Image Credit: Lucy Akins
Carefully remove the strands from the cardboard and tie another piece of embroidery thread in the middle of the strands.
Step 4
 Make a loop. Image Credit: Lucy Akins
Fold the strands in half and tie a loop at the top.
Step 5
 Tie a knot and loop it four times. Image Credit: Lucy Akins
Tie a knot around the top of the tassel, about 1/2 inch down from the loop. Wrap the thread around the tassel four times. Trim the bottom of the tassel if required so all the threads are even.
Step 6
 Thread the tassel garland. Image Credit: Lucy Akins
Repeat the steps to make as many tassels as you wish. Thread the tassel loops through the ribbon or cord and hang the garland.


