If you have trouble keeping plants alive, one sure thing for you would be Marimo moss balls. They require very little maintenance, and they can live for more than 200 years. Technically, Marimo moss balls are not moss at all, even though they look like it. They are spheres of velvety algae that grow slowly outward to form balls. In Japan, where "Marimo" means seaweed ball, they are considered good luck. And you'll certainly have good luck creating beautiful arrangements with these aquatic wonders.
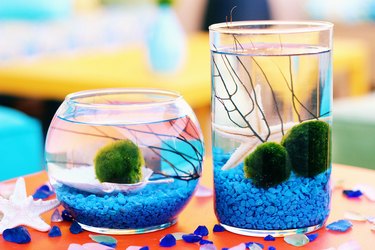
Things You’ll Need
-
Marimo moss balls
-
Glass vase or container
-
Aquarium gravel or rocks
-
Coral or small branches
-
Shells
Tip
You can purchase Marimo moss balls at your local pet store or fish store, which allows you to inspect them before buying. If you buy them online, make sure you read reviews to ensure the merchant is selling genuine Marimo moss balls instead of fakes. I actually found mine online and was assured by the more than 5,000 positive reviews.
Step 1: Soak the Moss Balls
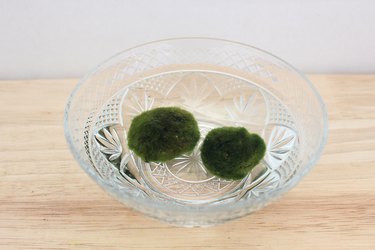
The first thing to do when you get the Marimo moss balls home is to soak them in a bowl of cool tap water. If they have been in transport, they may not have been receiving all the water they need. Soak them for at least 30 minutes as they drink up the water.
Step 2: Clean Them
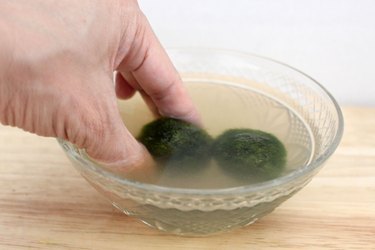
Gently squeeze the Marimo moss balls between your fingers while they are underwater. The water will become cloudy as the moss balls release sediment that has accumulated within the algae. Transfer the clean moss balls to a bowl of fresh water.
Step 3: Choose Your Glassware
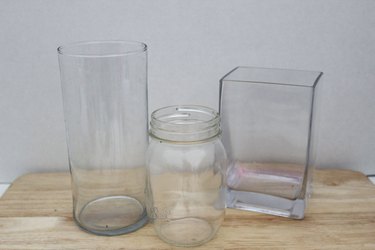
Select a clear glass vase, jar or candleholder that is wide enough to accommodate two or three Marimo moss balls without crowding. The container should also be deep enough that the balls are completely submerged in water. Do not use a lid; the algae needs access to carbon dioxide.
Step 4: Add Layer of Rocks
Pour about an inch of aquarium gravel into the container to provide a foundation that the moss balls can sit on. You can also use pebbles or glass beads.
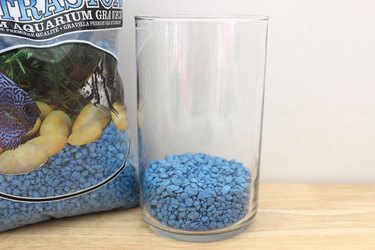
Step 5: Add a Branch
A branch provides a vertical backdrop for your aquatic arrangement. While you can use a small twig branch that you forage from your yard, I chose a piece of dried coral. If necessary, cut the branch into smaller pieces that will fit inside your container.
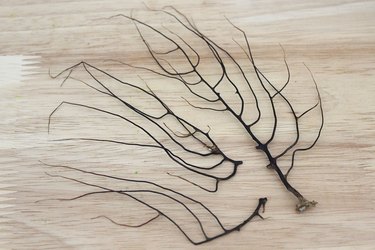
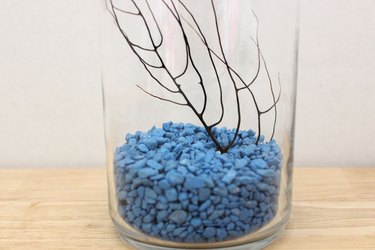
Position the branch in your container, anchoring the base in the gravel to keep it secure.
Step 6: Add a Shell
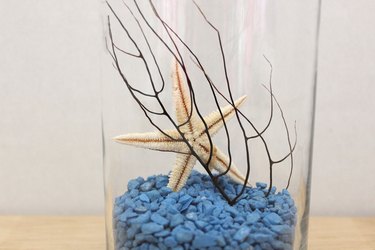
Give your arrangement another aquatic accent by placing a sea shell or starfish in the container. Nestle it in the gravel while still providing enough room for the Marimo moss balls.
Step 7: Position the Moss Balls
Now place the clean Marimo moss balls in the container. This one had room for two to sit comfortably side by side. Remember that they will expand in water and continue to grow slowly. Also, selecting two balls of different sizes makes for a more visually pleasing arrangement.
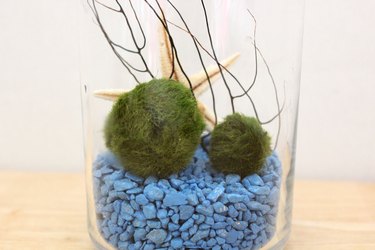
Step 8: Fill With Water
Carefully fill the container with water that is cool or room temperature. Distilled water is optimal, but you can also leave your tap water out on the counter for 24 hours, and that will do the trick. When you add the water, the moss balls may float. That's because they haven't absorbed all the water to sink back down yet. Be patient — as the algae absorbs the water, it will sit on the rocks again.
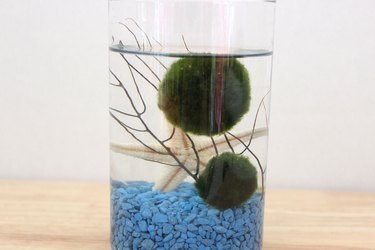
A fun variation of this arrangement is to place a shell face up on the rocks to hold a singular moss ball. It is like an algae version of a pearl in an oyster.
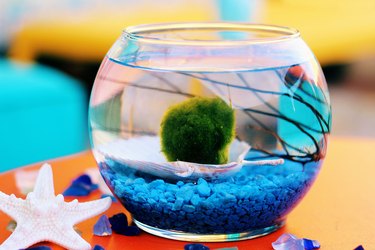
To care for your Marimo moss balls, keep them out of direct sunlight. Change the water every two weeks (keeping about a quarter of the old water in the container). And rotate the balls occasionally so they don't go flat on the bottom. Additionally, you can squeeze them and roll them around your palms to maintain their round shape.
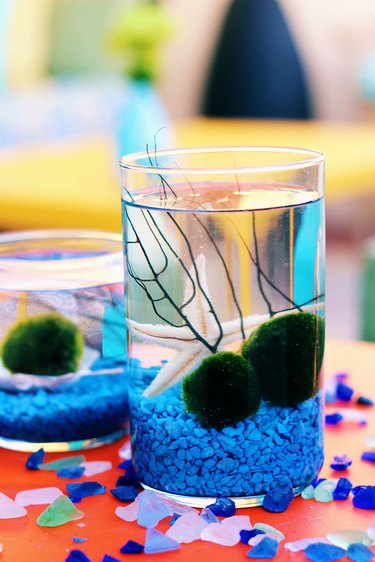
And because Marimo moss balls live for so long, they'll never go out of style.


