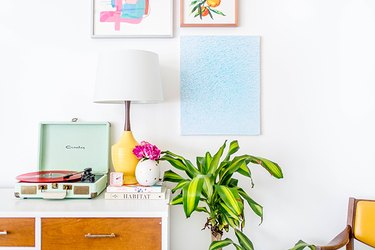
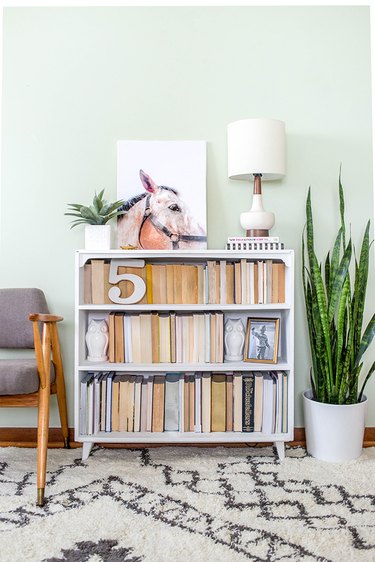
Large-scale, poster-size photographic prints are admittedly things of beauty in home décor. But it's also worth admitting that these bold pieces of art often sport hefty price tags that have the power to put them well out of reach for the average home. Well, what if we told you that you can get the look of those high-end designer prints for less than $10 apiece? Read on to learn how to download, print, and craft your very own high-resolution canvas art fit for summer.
Things You’ll Need
-
High-resolution photograph ordered as an engineer print (click these links to download: horse portrait in color, horse portrait in black and white, waterscape)
-
Wrapped canvas to match the size of your engineer print
-
Pen or pencil
-
Scissors
-
2-inch foam paintbrush
-
Gloss medium & varnish
Step 1: Download and Order Your Engineer Print
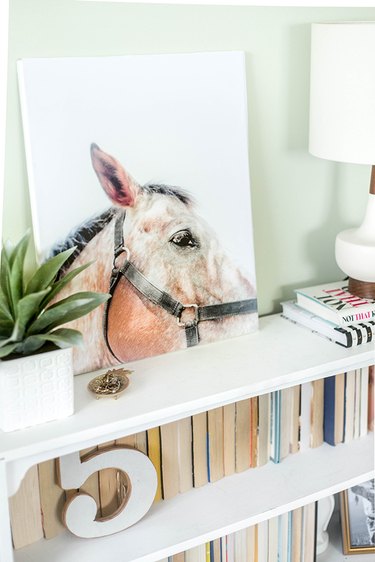
Choose a high-resolution photo from the set of three we have available for you (links for the free downloadable art are in the Things You'll Need List above) or from your own personal collection of photography. Upload the photograph to an office supply store and order it as either a color or black and white engineer print depending on the style of your image. These engineer prints are typically inexpensive, costing just a few dollars each, and are much larger in scale for the price than traditional photo printing services available. The photos seen here in this tutorial were ordered as 18-by-24-inch engineer prints for $2.99 each.
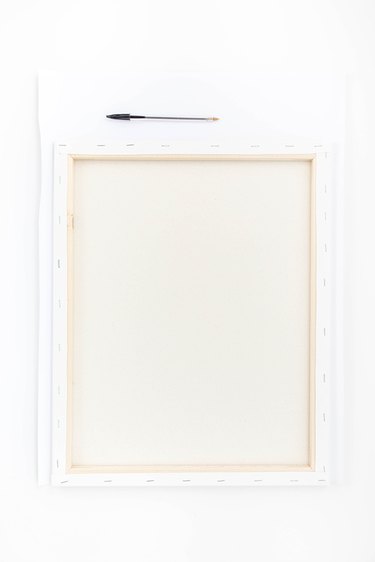
Step 2: Trace the Canvas on the Back of the Print
Lay the engineer print upside down on a clean, flat surface. Lay the wrapped canvas on top of the print, lining it up with the edges of the image. Trace the outline of the canvas on top of the print using a pen or pencil.
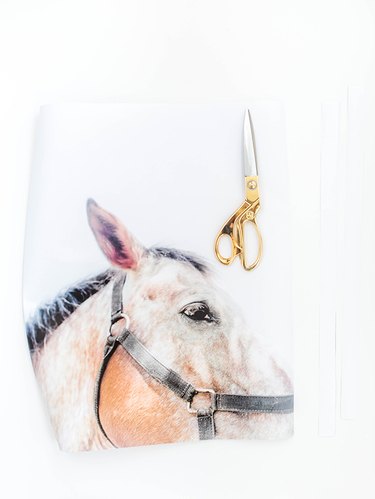
Step 3: Trim the Print to Size
Set the canvas aside and use sharp scissors to trim the traced edges off of the engineer print.
Step 4: Paint an Even Layer of Medium on the Canvas
Use a 2-inch foam paintbrush to coat the wrapped canvas with a thin and even layer of gloss medium and varnish.
Warning
It's important not to overload the canvas with medium as this will cause the paper to bubble up too much in Step 5. Conversely, you'll want to avoid painting on too little of the medium as well or else the paper won't stick to the canvas.

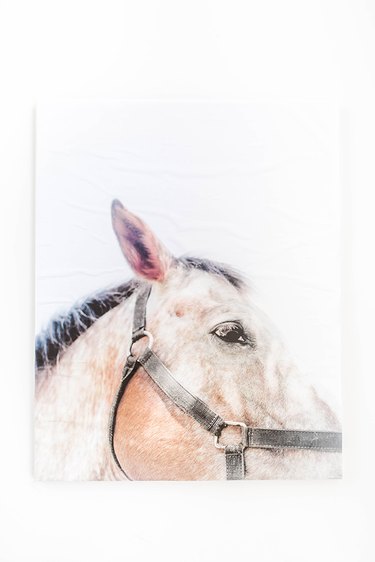
Step 5: Lay the Printed Photo on Top of the Medium
Gently lay the engineer print on top of the still-wet medium with the photo facing up and the edges of the photo lining up with the edges of the canvas. Use your fingertips to softly work out any bubbles.
Warning
Don't overwork the surface of the print with your fingers as you could end up tearing the delicate paper. The air bubbles will greatly diminish (if not disappear entirely) once the printed paper has a chance to dry for 24 hours.
Step 6: Allow the Print to Dry Completely
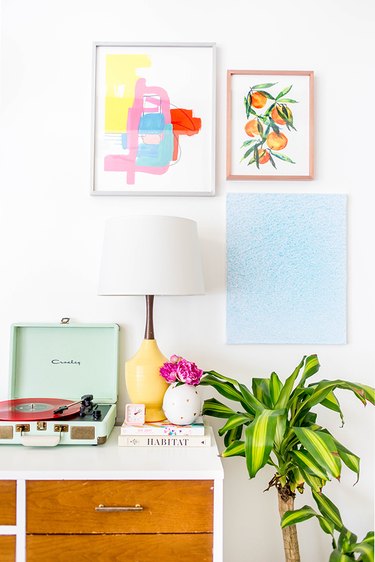
Set the canvas art off to the side in a dry place to cure completely for 24 hours. To finish, lean or hang your DIY canvas art anywhere you choose. In the end, this DIY canvas art project offers your space high-impact personality for less than $10 apiece.


