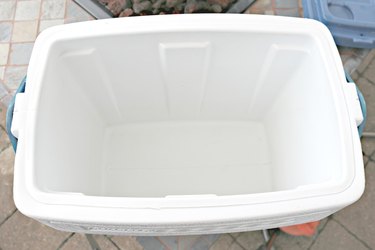
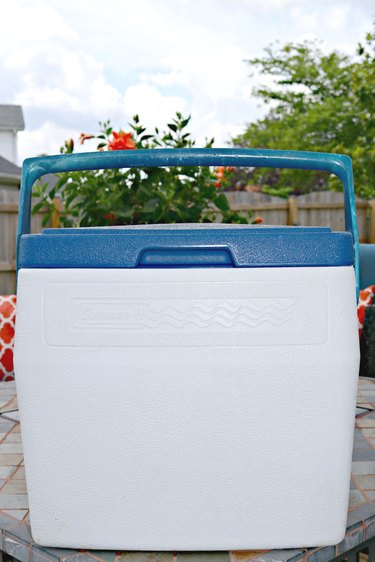
Between picnics, tailgating, camping, fishing and cookouts, coolers can get really gross. They can become stained and stinky, and can also harbor mold and mildew. It's a good idea to give your cooler a good cleaning in between uses and also to take a few extra steps to ensure that mildew doesn't grow in your cooler. After all, coolers are used to transport food and drinks, and we don't want any extra germs lingering in them. The good news is that you most likely already have the items you need to clean your cooler out in your kitchen pantry!
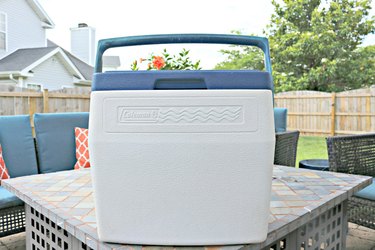
Things You’ll Need
-
Water hose or bucket of water
-
Baking soda
-
Vinegar
-
MagicEraser sponge (optional)
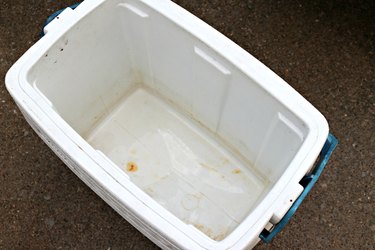
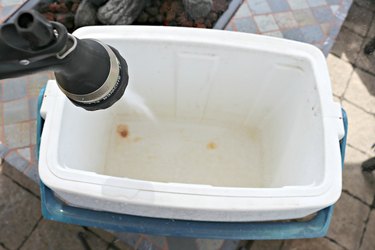
Step 1: Rinse out the cooler using a water hose.
If you don't have access to a water hose, you can clean your cooler in the bathtub or kitchen sink.
Tip
If your cooler has a drain, leave it open between uses.
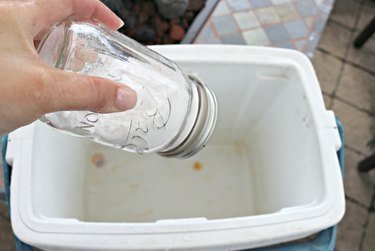
Step 2: Sprinkle a liberal amount of baking soda on the inside of the cooler.
The baking soda will help scrub and lift any dirt and stains from the inside of the cooler.
Step 3: Spray the entire inside of the cooler with vinegar.
The vinegar will help clean the cooler and will also help remove any odors that may be lingering inside.

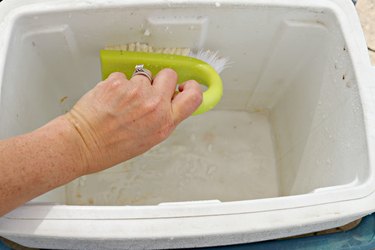
Step 4: Scrub the inside of the cooler.
Scrub the inside, using the brush to spread the baking soda and vinegar mixture all around, removing dirt and any rust spots.
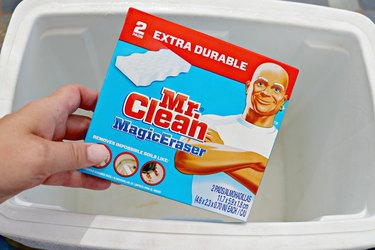
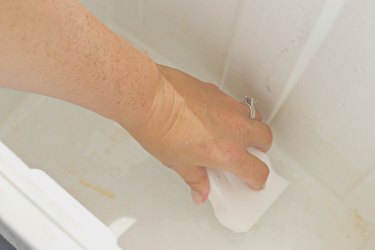
Step 5: Use a Mr. Clean MagicEraser to remove any tough stains.
This works really well on rust spots and scuff marks.
Step 6: Rinse well and use the same steps to clean the outside of the cooler.

All clean!
Tip
Leave the lid off of your cooler or open in between uses so mildew doesn't grow inside.
