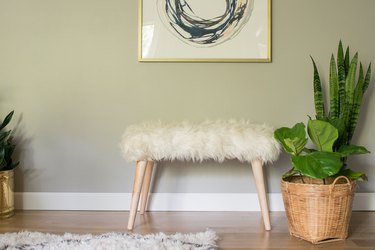
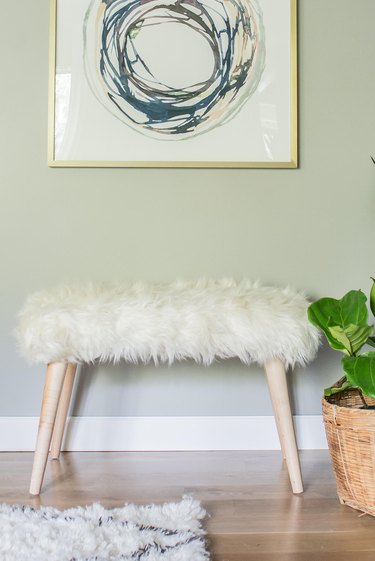
You can never go wrong with a bench: it's a great furniture piece whether it's resting at the end of a bed or along the wall of an entryway. But what if you want something more than just a convenient place to rest? Say hello to a seating arrangement that's simple and stylish: this bench's straightforward form complements a chic shag upholstery, courtesy of an reimagined rug. It's a project that'll take only a couple of hours to complete, and a detail that'll add visual interest to any corner of your home.
Things You’ll Need
-
3/4 inch x 34 inch x 15 inch particle board or plywood
-
16 inch furniture legs with brackets (4)
-
Foam
-
Batting
-
Staple gun
-
Shag or fur rug
-
Screwdriver
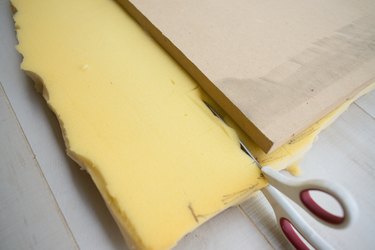
Step 1: Cut the Board and the Foam
To save time and effort, have your hardware store cut the particle board or plywood for you. For a good-sized bench, have the wood cut to 34 inches x 15 inches. Then, using scissors, cut the foam so that it's just slightly larger than the wood piece.

Tip
To keep costs down, consider buying a mattress topper instead of upholstery foam. Any foam will work as long as it's at least 2 inches thick. If you are using a mattress topper, you may need to double the foam piece to get a comfortable amount of padding on the bench.
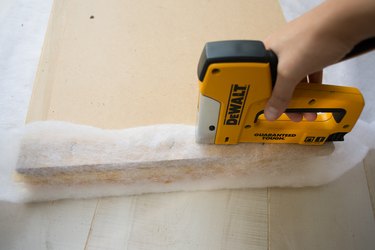
Step 2: Staple the Batting
Place the batting down on the ground, followed by the foam and then the board. Pull the batting up around the board and staple it down. It works best to place a few staples on each side of the board first. Then, pull the batting tightly and finish securing it with staples.
Step 3: Start Stapling the Rug
Place the rug face-down on the ground. Then, place the bench face-down on top of it. Pull the rug tightly and staple it in on the long sides of the bench. Trim any excess. At this point, leave the short sides of the bench unstapled so that the legs can be attached easily.

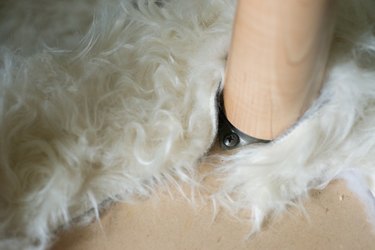
Step 4: Attach the Legs
Screw the legs in at each corner using their accompanying brackets. Then, pull the fur tightly around the brackets and staple it in. Trim any excess fur with scissors.
Step 5: Arrange the Bench
Turn the bench right-side up, and you're finished! You now have a new accent piece for your living room, bedroom or entryway.


