Things You’ll Need
-
Gloves
-
Putty knife
-
Needle nose pliers
-
Replacement glass
-
Glazing compound
-
Glazing points
-
Rags or paper towels
-
Mineral spirits
 Laying down a crisp bevel in glazing compound. Image Credit: Jeff Farris
As double and triple pane windows capture more and more of the market, the skill of glazing a window fades into history. Multiple pane windows use a variety of proprietary methods to install the glass into the window sash, with each manufacturer having their own unique approach, none of which are DIY friendly. However, for those who live in classic, older homes with single pane windows, repairing a broken pane is a simple project, well within the grasp of most homeowners.
Step 1
 Things you’ll need to reglaze a window. Image Credit: Jeff Farris
When buying replacement window panes, don't get the glass too close to the sash dimensions. If the window sash is perfectly square and straight, allow no less than 1/8 inch clearance between the sash dimension and the glass dimension. If the window sash is questionable, allow approximately half the width of the ledge the glass rests against. Please see the last slide for an itemized list of tools and materials.
Step 2
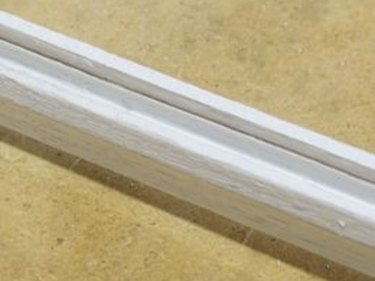 Small groove is an anchor point for glazing compound. Image Credit: Jeff Farris
Remove the window sash if possible. If the window sash is difficult to remove from the frame, you can do the entire project in place. Remove the broken glass from the window. Chip out all old glazing compound and pull out old glazing points. Clean the window frame and paint with an oil based paint. Be sure the groove in the frame is clean of old compound and paint. The glazing compound will anchor in that groove later in the project.
Step 3
 Apply a thin layer of glazing compound to the frame. Image Credit: Jeff Farris
Warm some glazing compound up by rolling it between your palms. Work it into small ropes and press it into the ledge the glass rests on. This step, called "bedding," requires very little glazing compound. The "bed" you will rest the glass in needs to be thin.
Step 4
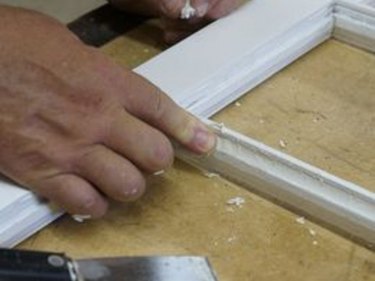
 Install glazier’s points. Image Credit: Jeff Farris
Press the glass pane in carefully. Check all the way around, ensuring the glass makes complete contact with the bedding. Using your putty knife, press glazier's points into the sash. Press down and in at the same time. You want to force the glass into the bedding, but too much force can crack your pane. Use two glazier's points on each side for small to medium windows. Larger windows need a point approximately every 4 inches.
Step 5
 Clean bedding compound from inside surface. Image Credit: Jeff Farris
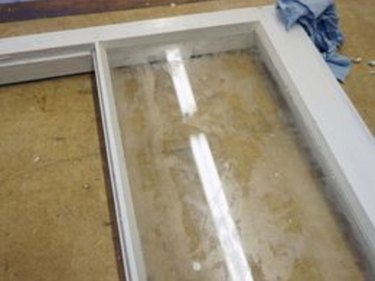
Turn the sash over and clean the glazing compound from the glass and the sash. In the next step, you'll use the edge of the sash as a visual guide to shape the glazing compound. It is much easier to cut a straight line if you can see the sash edge clearly.
Step 6
 Pull a straight line with your putty knife. Image Credit: Jeff Farris
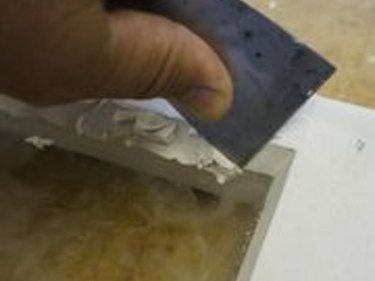
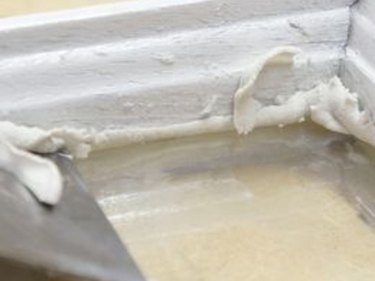
Warm more compound and generously work it into the corner formed by the sash frame and the glass. Hold your putty knife so that the point is lined up with the sash frame on the opposite side of the glass and the blade rests against the sash frame. As you pull the knife, it will cut away all the excess compound outside the triangle formed by the glass, the sash and your putty knife.
Step 7
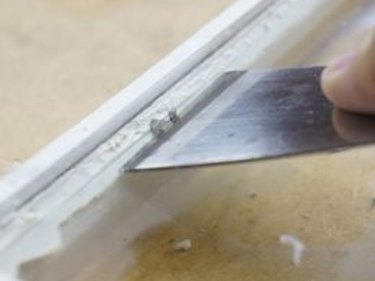
 Clean the excess compound from the glass. Image Credit: Jeff Farris
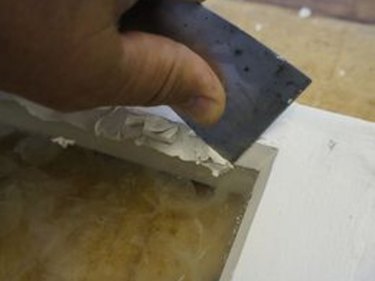
There should be a crisp line between the newly formed window seal and the excess compound. Use your putty knife to pull the excess away from the finished seal.
Step 8
 One pane completed. Image Credit: Jeff Farris
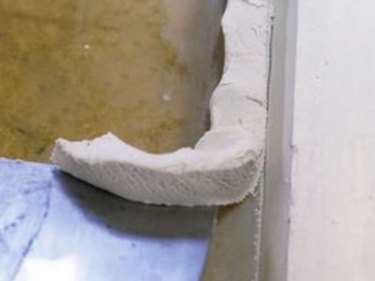
Repeat the process for any additional panes in the window. Allow the glazing compound to cure for a couple weeks before applying a final coat of paint.
Tip
Avoid going back over the glazing compound again and again with your putty knife. Some rework is inevitable, but at some point the compound becomes gummy and doesn't cut well.


