Things You’ll Need
-
Tape measure
-
Ladder
-
Foam insulation boards
-
Straightedge
-
Utility knife
-
Foam adhesive
-
Paint brush
-
Installation tape
-
Clear silicone caulk
-
Wood paneling
 An uninsulated roof can expose a building to extreme temperature changes. Image Credit: Jupiterimages/Goodshoot/Getty Images
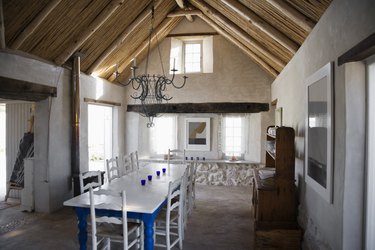
An essential design element of a log cabin is the raw, unfinished appearance, as illustrated by the visibility of the logs that make up the walls of the cabin. The simplicity of log cabin design also means that, in many cases, there is no ceiling. Instead, the beams and rafters that support the roof are fully in view. This poses a problem, as the cabin is prone to extreme temperatures due to the lack of an insulated ceiling. One option is to insulate the roof itself.
Step 1
Measure the dimensions of the spaces between the rafters.
Step 2
Cut foam insulation boards to fit the measurements by placing a straightedge on the board where you want to cut it, and making the cut with a utility knife. Snap the board along the score line.
Step 3
Brush foam adhesive onto the back of the first insulation board.
Step 4
Place the foam-covered side of the insulation board against the roof between the first two rafters, with one end against the peak of the roof. Firmly press the board against the underside of the roof.
Step 5
Cover the rest of the roof's underside with insulation boards, using the same process you used for the first board.
Step 6
Cover the joints between panels with installation tape to seal them.
Step 7
Seal the joints between the roof rafters and the outer edges of the foam boards with a thick bead of clear silicone caulk.
Step 8
Glue pieces of wood paneling to the insulation boards to conceal them and create the appearance of an exposed wooden roof.


