This is a recipe in need of bookmarking. Brunch invite? Break out the lemon cake. Backyard barbecue? It's a perfect dessert. Breakfast for overnight guest? Coffee and lemon cake it is. With a light lemony flavor and the perfect coffee shop icing, it's perfect any time of day. It's also a great excuse to eat cake for breakfast, and that's something we could all use.

Things You’ll Need
-
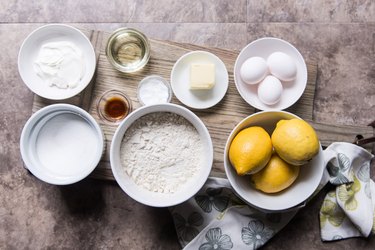
2 tablespoons lemon zest
-
3/4 cup granulated sugar
-
2 tablespoons butter, softened
-
3 large eggs, room temperature
-
1 teaspoon vanilla extract
-
1 teaspoon lemon extract
-
¼ cup lemon juice (1 large lemon)
-
1/3 cup buttermilk
-
1/3 cup vegetable oil
-
1
¾ cups all purpose flour
-
½ teaspoon
baking soda
-
½ teaspoon baking powder
-
1 teaspoon salt
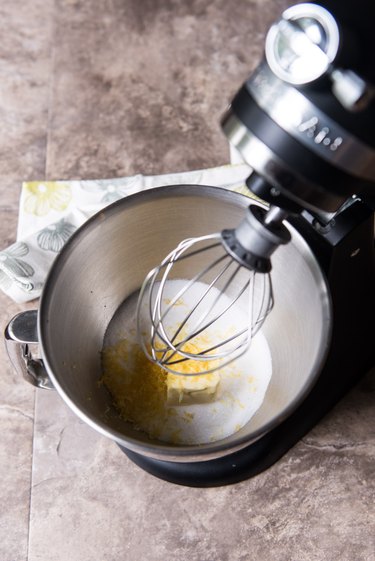
Step 1: Zest, Sugar and Butter
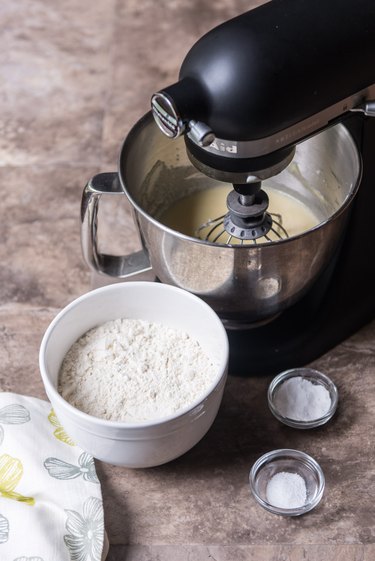
Add the zest, sugar and butter to a stand mixer. Mix on high for 3 to 5 minutes. This will help release the lemon oils in the zest for a bigger lemon flavor.
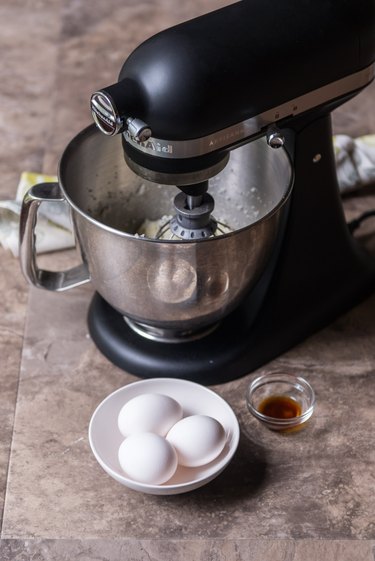
Step 2: Add Eggs and Vanilla
One at a time, add the eggs, the lemon extract, and the vanilla, beating well between additions.
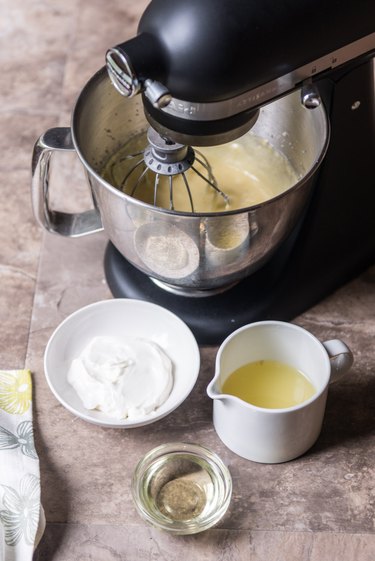
Step 3: Add Remaining Wet Ingredients
Add the lemon juice, buttermilk, and oil, beating until well combined.
Step 4: Add Dry Ingredients
Sprinkle with flour, salt, baking powder and baking soda. Stir until just combined–do not over mix.
Step 5: Bake
Grease a 9 inch loaf pan (flour as well if cakes tend to stick to your loaf pan), and spread the batter into the pan in an even layer. Bake at 350°F for 40-45 minutes.
Step 6: Make Icing
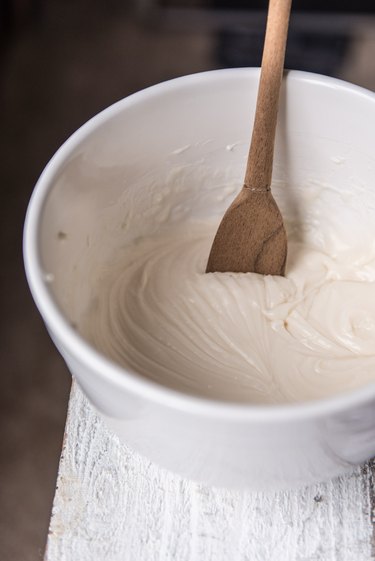
Add the 2 cups powdered sugar, 3 tablespoons buttermilk and 1 teaspoon lemon extract in a large bowl. Beat with a hand mixer until well combined. It will be very thick–this will allow it to sit on top of the loaf instead of running down the sides.
Step 7: Cool and Ice
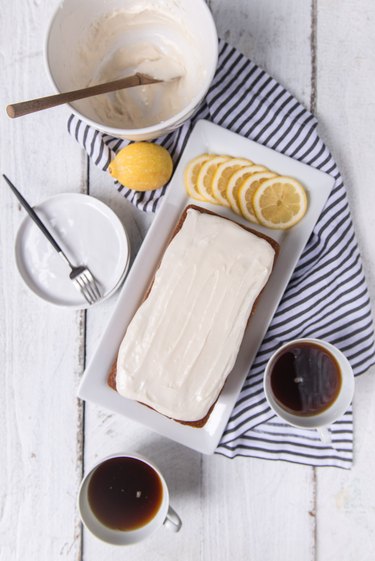
Allow the cake to cool completely before removing from the pan. Ice the top of the cake, allow to icing to set before slicing.
Tip
Want to make it super moist? Just brush all sides with simple syrup! Combine equal parts hot water and sugar, then brush onto the cake with a pastry brush.
Step 8: Slice and Serve
