Sun brewed tea has been a longtime summer tradition — the process involves steeping tea in a hot, sunny spot over an extended period of time rather than utilizing boiling water. Letting the sun do the work for you, the tea can be made in large or small batches and requires minimal ingredients, using your favorite tea blend as a base. Take it up a notch by adding more flavors, for example, sugar, fresh herbs and slices of lemon.
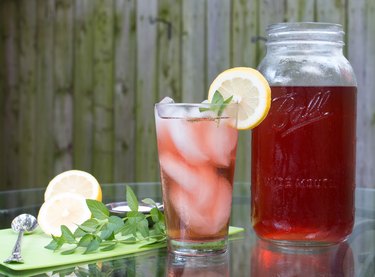
Black and green tea blends are known for their compatibility during summer months, as they retain a smooth flavor when chilled over ice. Our favorite summer tea, and the version we're sharing in this recipe, combines a peach tea blend with fresh peppermint sprigs snipped straight from our container garden.
Things You’ll Need
-
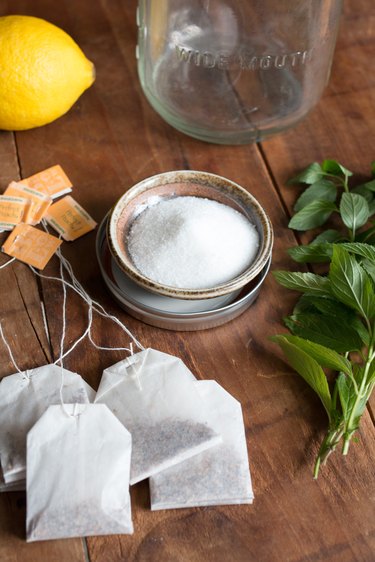
Half gallon clear glass mason jar (See tip below)
-
6 tea packs, black blend or your personal favorite
-
Filtered or distilled water
-
¼ cup sugar (optional)
-
Fresh peppermint sprigs (optional)
-
1 lemon, sliced (optional)
Tip
A clear glass vessel is key in brewing the perfect sun tea — it allows the sun’s rays to fully penetrate the tea and keeps the brew from leaching any chemicals in the way a plastic container might. We’re partial to the mason jar for the ease it provides with holding tea bags suspended in place at the top of the container. If a mason jar isn’t a regular staple in your kitchen artillery, any sealable clear glass container will substitute.
Tip
This recipe can be easily adjusted depending on the amount of tea needed or size jar you may have on hand by modifying the number of tea packets accordingly to the tea strength of your liking. For example, 3 packets for a quart jar, or 1 to 2 for a single serve, 16 ounce jar.
Step 1: Prepare Your Ingredients
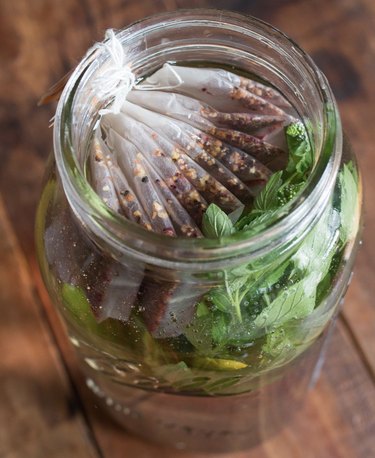
Clean the mason jar with warm soapy water, rinse and dry. If including ingredients in addition to tea, for example fresh herbs, lemon slices or sugar, incorporate them at this stage prior to filling the jar with water. Fill the jar with cold water just beneath the fill line. Gathering the tea packets by their tabs, give the strings a gentle twist to form a neat bundle before resting over the mouth of the jar. Tea packets should be fully immersed in the water.
Step 2: Seal the Container
Secure the jar's lid over the mouth of the jar, tightening to hold the tea bags suspended and in place for steeping.
Step 3: Sit & Steep
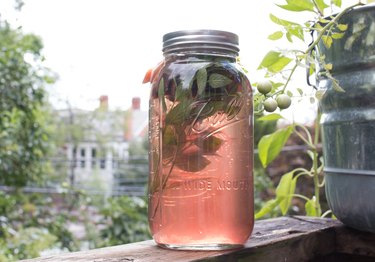
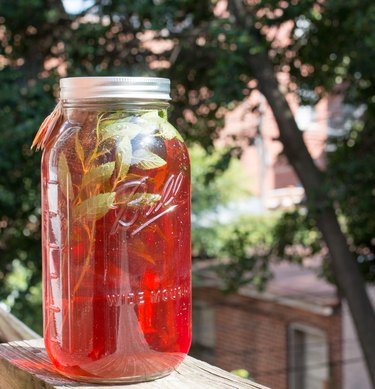
Find a bright and sunny spot, like a window ledge, patio table or wide deck railing to place the jar, allowing it to steep and soak in the final ingredient (those sunny rays of light). We decided to let ours steep out on our back balcony among the host of container garden vegetables we've been cultivating this summer — it's one the best spots for direct sunlight in our quaint city backyard.
Tip
Steep time simply depends on your desired tea strength. Allow at least 1 hour for the flavors to combine and up to 3 hours for added complexity. If you're able, checking the tea every 30 minutes should give you a good gauge on the strength — the darker the coloring of the liquid, the stronger the brew.
Step 4: Prepare the Tea
Once steeped, open the jar lid to remove the tea bags and strain the liquid. Keep the tea refrigerated prior to serving.
Step 5: Serve & Sip
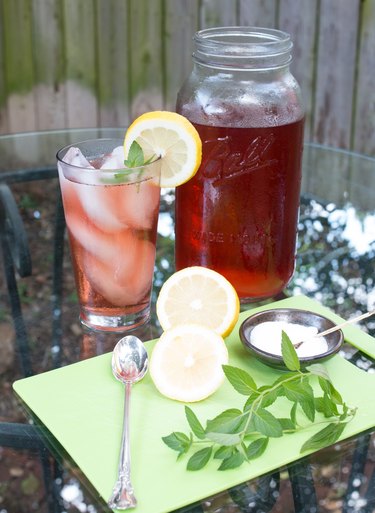
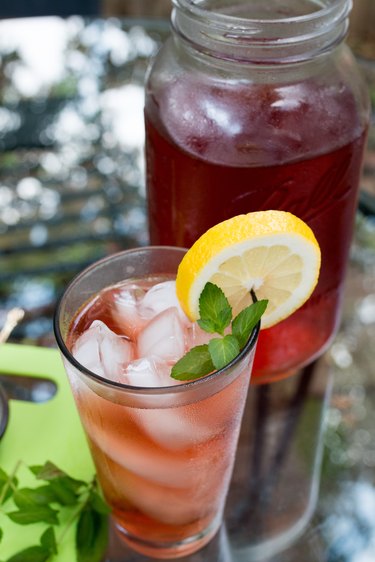
Serve in glasses over ice, garnishing with an additional lemon slice, peppermint sprig and/or spoonful of sugar. Relax and enjoy sipping on the seasonal taste of summer — we promise you'll be able to taste the rays of sun that brewed this seasonal refreshment to perfection.
Looking for more creative project ideas with a natural twist? Learn how to make fragrant mulling spice packs at home, and try a touch of edible landscaping with pumpkin season this year.


