Things You’ll Need
-
Tarpaper
-
Staples
-
Staple gun
-
Shingles
-
Chalk line
-
Measuring tape
-
Roofing nails
-
Hammer
-
Roofing putty
-
Heavy-duty shears or vinyl cutters
 Asphalt roofing shingles curve to conform to rounded or domed roofs. Image Credit: Jupiterimages/Photos.com/Getty Images
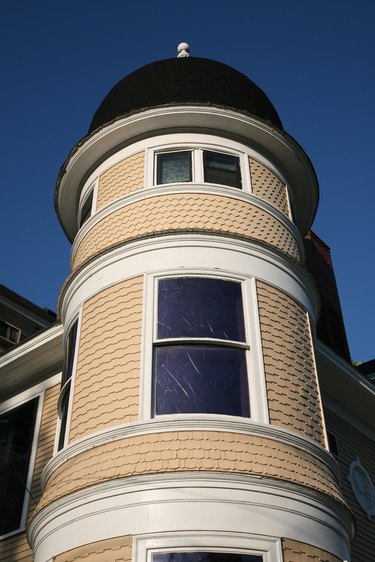
Though typically sloped or flat, most roofs are made up of planes and angles. Straight lines, however, are not the only option. Decorative details, such as eyebrow windows are a feature of many cottage-style historic homes and conical, curved roofs cover turret features in older and modern homes. Barrel roofs, domes and half-circle roofs are options as well. These tend to be more resistant to leaks than flat roofs, as well as withstanding high winds and harsh rain. To cover the roof, shingles are attractive and easy to install. Modern asphalt shingles are flexible so can be installed on any shape of roof, including curved ones, and the installation procedure is similar for all of them.
Step 1
Lay tarpaper over the roof. Start at the bottom of the roof and lay sheets of the paper, securing with staples every 6 inches or so. Overlap the edges of the paper as you go.
Step 2
Begin laying your shingles at the edge of the roof. The first row of shingles should overlap the edge of the roof by around 1/8 inch, but they should sit flush side-by-side rather than not overlapping. It may be beneficial to measure and make chalk lines to keep this first row even.
Step 3
Nail three roofing nails evenly along the top edge of each shingle. You may need to ask a friend to hold the shingle down around the curve of the roof so you can nail it down flush with the roof.
Step 4
Dab a small amount of roofing putty over the head of each nail. This helps keep the roof waterproof.
Step 5
Install the second row of shingles above the first. Offset this row so that the center of each shingle lies over the joint between two shingles on the first row. This offsetting helps prevent leaks as well. Overlap the first row of shingles by approximately 1/4 inch, so the shingle above hides the nails below.
Step 6
Continue installing rows of shingles up the roof in the same overlapping, offsetting manner, following the contours of the roof. Use extra nails if necessary to keep the shingles flush with the curved roof. As the roof is curved you won't need to cut shingles for a roof ridge. If you need to, trim roofing shingles to fit the shape of the roof with heavy-duty shears or vinyl cutters.
Tip
You can buy curved wood shingles — typically made from cedar. However, these generally have to be steam-bent by a professional roofing contractor to ensure they fit the exact dimensions of your roof. Professional installation is advised.
Warning
Do not attempt to install roof shingles in wet conditions.


