 1 of 12
Overview
Black iron pipe bookshelves are a hot trend in decorating. One outstanding feature of the method is its flexibility. You can fit pipe shelves into spaces where no commercially available shelving unit would ever fit. Take, for example the space between two doors in an already cramped home office. Build the shelves with recycled lumber and you're not only trendy, you're going green in a big way.
Jeff Farris 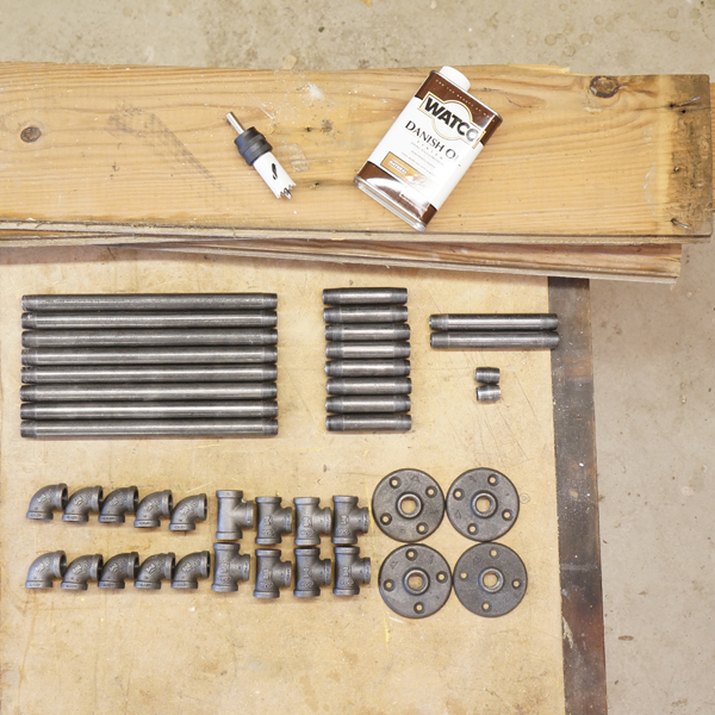 2 of 12
Things You’ll Need
To build this shelf unit you will need half-inch black iron pipe in the following lengths; 12 inches (8), 4 inches (8), 6 inches (2) and 1/2 inch (2). You'll need the following fittings; 90 degree elbows (10), tee joints (8) and wall flanges (4). Each shelf is 26 inches long, made from salvaged 1 by 8 barn siding. You'll need a saw, a drill or drill press, a one inch hole saw, oil finish and a way to attach the shelves to your wall (varies by wall design).
Jeff Farris  3 of 12
Clean and Inspect Your Lumber
Remove all nails and other foreign objects from your lumber. To keep the weathered look, use a wire brush to clean dirt, old paint and crud off the lumber. Assume any paint you're dealing with is lead-based and take appropriate precautions when handling. Find the best sections and cut 4 boards to length (26 inches or whatever is appropriate for your space).
Jeff Farris  4 of 12
Lay Out Holes
Mark a line 1 3/4 inches from both ends of the boards. The wall flanges are 1 3/4 inches from the edge to the center. This will place the hole for the pipe to pass through at the exact center of the wall flange. Mark an intersecting line 1 1/8" from the front edge.
Jeff Farris  5 of 12
Drill Holes
Drill 1 inch holes centered on the marked intersections on both ends of all 4 shelves. Use a hole saw in a drill press, if you have one available. A hand drill will work, but make sure you keep the hole vertical and precisely on the mark.
Jeff Farris 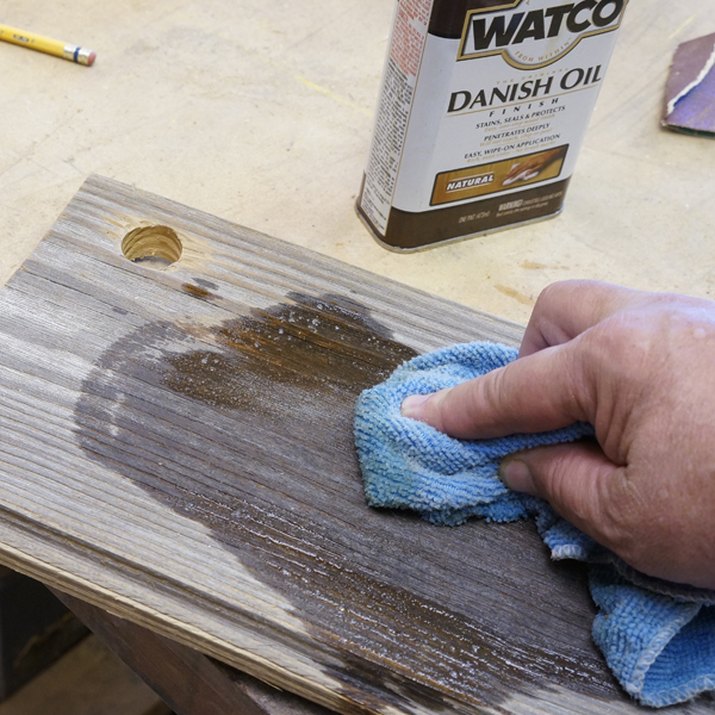 6 of 12
Finish Shelves
Apply an oil finish to the shelves per manufacturer's directions.
Jeff Farris 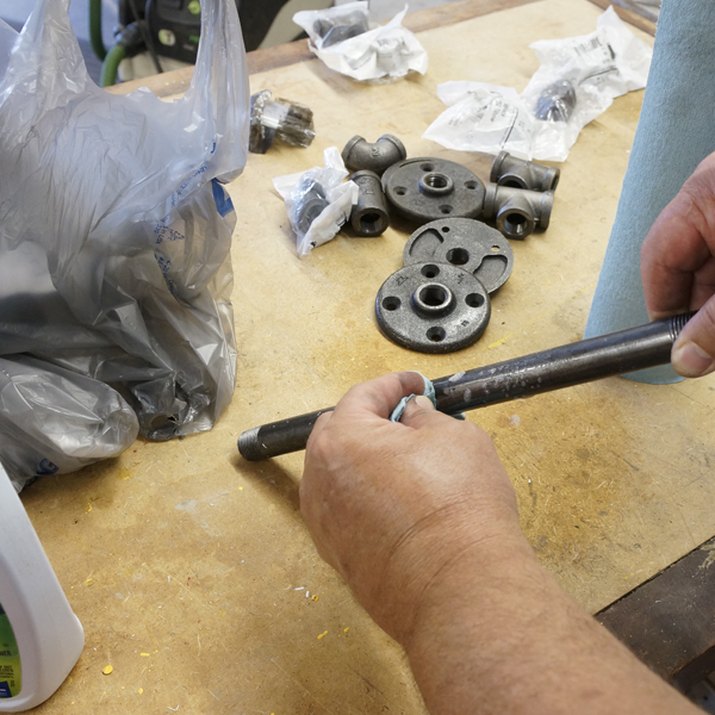 7 of 12
Clean Pipe
Clean all the pipe and all the fittings with grease-cutting cleaner and paper towels. Be thorough, the packing film on the pipe smears on everything it touches unless it is cleaned off.
Jeff Farris 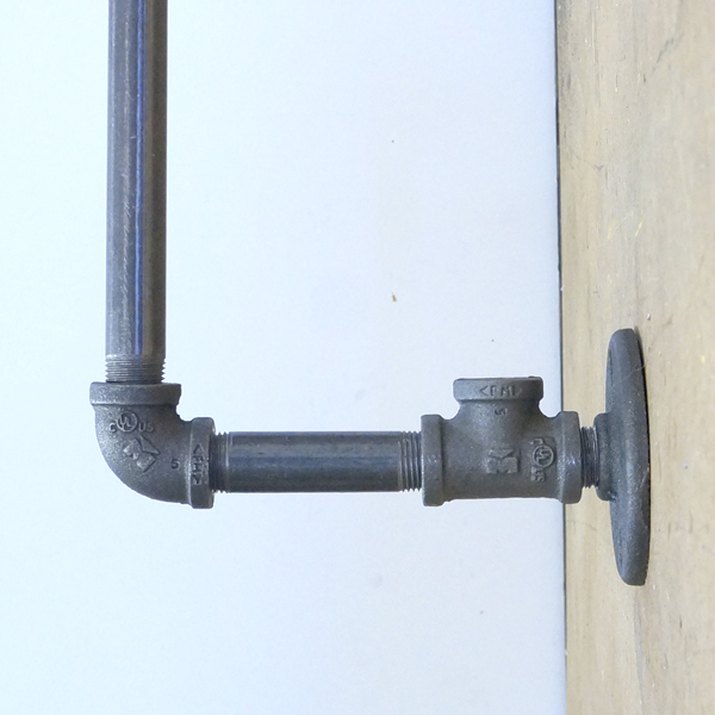 8 of 12
Assemble Wall Brackets
The lower wall brackets consist of a wall flange, a 1/2 inch pipe section, a tee joint, a 4 inch pipe section and an elbow, in that order. The tee joint and the elbow need to point in the same direction when tightened, and the overall length of the assembly needs to be the same as the upper bracket, which has a 6 inch pipe and no tee joint.
Jeff Farris  9 of 12
Equalize Wall Brackets
This is the only part of the project where the fittings need to be tightened more than hand tight. The lower bracket assembly will need to be tightened very tight to get it as short as the upper assembly. A vise will make the job much easier, if you have one. Tighten all the lower bracket fittings until the assembly appears to be the same length as an assembled upper bracket. Place a 12 inch pipe between an upper and a lower bracket. If the wall flanges sit flat, your brackets are close enough to even in length.
Jeff Farris 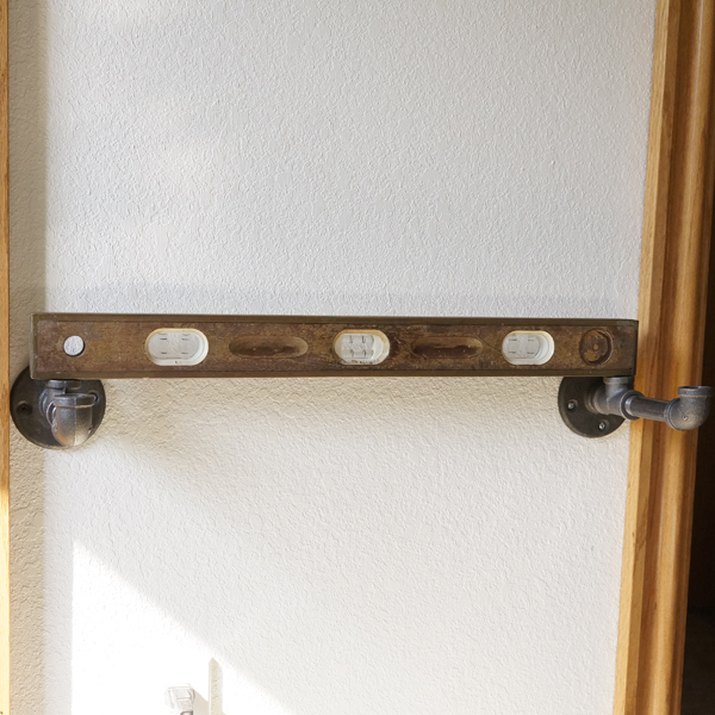 10 of 12
Install Lower Brackets
Determine where you want the lowest shelf to be and position the center of a wall flange 2 inches below the desired shelf level. Mark the screw holes in the flange on the wall. If you are centered over a stud, screw the wall flange to the stud with wood screws. Alternatively, use hollow wall anchors. In most cases, you will need a combination of the two. Use a level to position the second lower bracket perfectly level to the first.
Jeff Farris 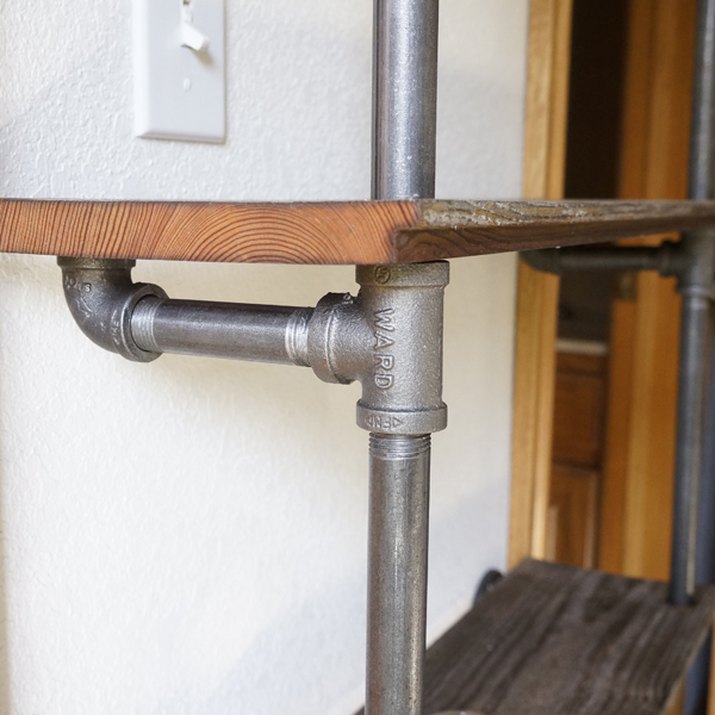 11 of 12
Assemble Shelves
Thread 12 inch pipe sections into the elbows of the lower brackets. Fit the holes in a shelf over the pipes and lower the shelf onto the fittings in the lower bracket. Thread tee joints onto the just installed pipe. Thread elbows onto two 4 inch pipes and thread those assemblies into the horizontal openings of the tee joints. Repeat for the remaining shelves.
Jeff Farris  12 of 12
Upper Wall Bracket
After the last shelf is installed, thread on the upper wall bracket assembly and screw it to the wall in the same manner as the lower bracket. Now you're ready to load them up with books and nick-knacks.
Jeff Farris


